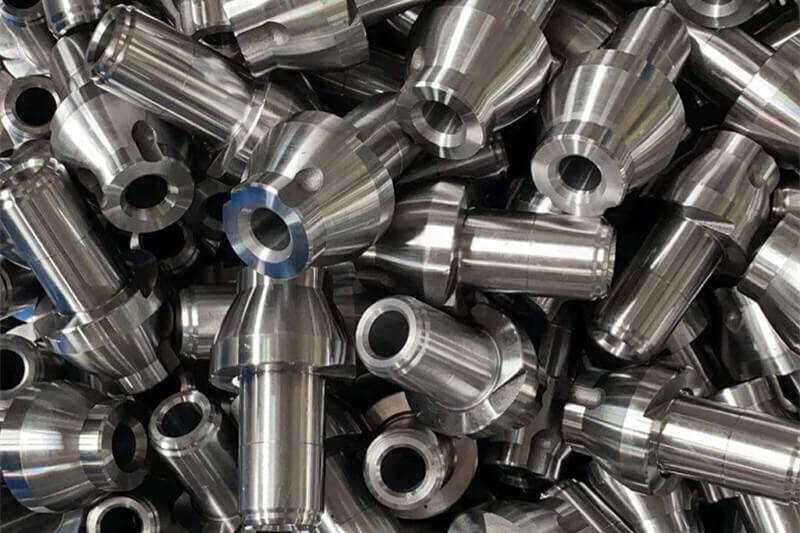
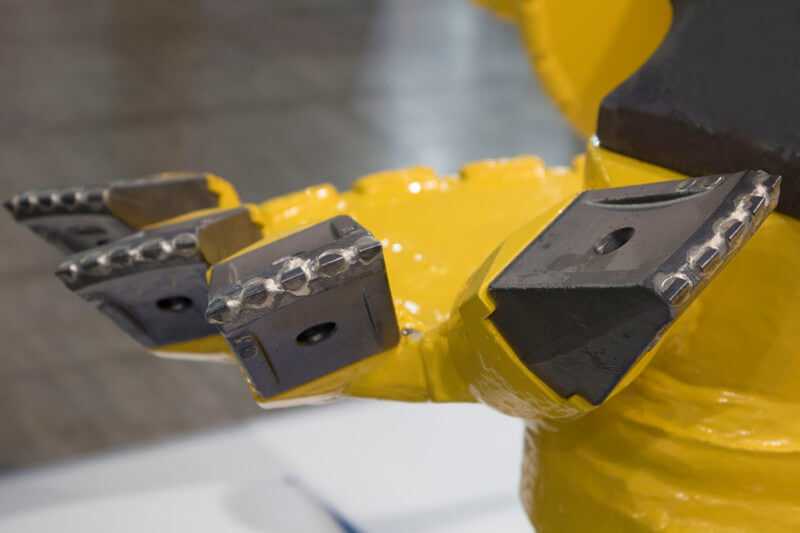
Brazing tungsten carbide is one of the fast-growing techniques in the manufacturing of the machine’s cutter tools. It is a process through which the metallic blaze alloy is put between the tungsten carbide and another component like steel. The components are heated so that the metallic blasé alloy is melted and flows into the gaps between tungsten carbide and steel or another metal.
That’s how a strong joint is formed. So how does the brazing tungsten carbide process looks like? Well, the are steps that should be followed, and that’s what we have put together. These are the main 7 steps of brazing tungsten carbide:
-
Apply Flux to The Steel Surface
once you have put the whole assembly together, you can now start working on the brazing process. The first step is lightly applying influx on the steel surface. The reason why the flux should be lightly applied is to avoid excess influx residue after heating, which compromises the joint strength.
-
Position the Precut Piece Braze Alloy
The next step is adding on the metallic braze allow. The braze alloy, which is now precut, should be added next to the fluxed steel metal and should also be fluxed flight. This is important to note.
-
Bring the Tungsten Carbide
With the steel and the metallic braze alloy in place, the next component is the tungsten carbide. You should also have the outside surfaces of the tungsten carbide coated with flux. This is an important factor to consider.
-
Heat the Assembly
With everything in place and properly coated with flux, it is time to heat the assembly. The heating should be done evenly and throughout with the right temperature. The most important thing is the intensity of heat.
-
Jiggle the Carbide lightly
With the metallic braze alloy now in the molten form after heating, you should jiggle the carbide slightly so that excess flux and also fumes can escape. Do not press too firmly because the braze alloy might be forced out of the joint.
-
Allow the assembly to cool slowly
This is another important step. Once you feel the brazing process is good, you can now allow it to cool slowly. Do not try to hasten the process.
-
Get rid of excess flux
To ensure the final product is in perfect condition and looks good, wash off the excess flux on the assembly with hot water. It should wash off with ease.


